In Part 1 of our blog series, we discussed the basics of beginning your machine learning project and how to optimize it in the Superb AI Suite. In part 2, we dive into labeling types, when to use them, and how to get the most out of Superb AI Suite to create more streamlined workflows for your team.
Before you begin labeling your project, uploading data, and assigning labels, it's crucial to understand labeling types, strategies, and best practices.
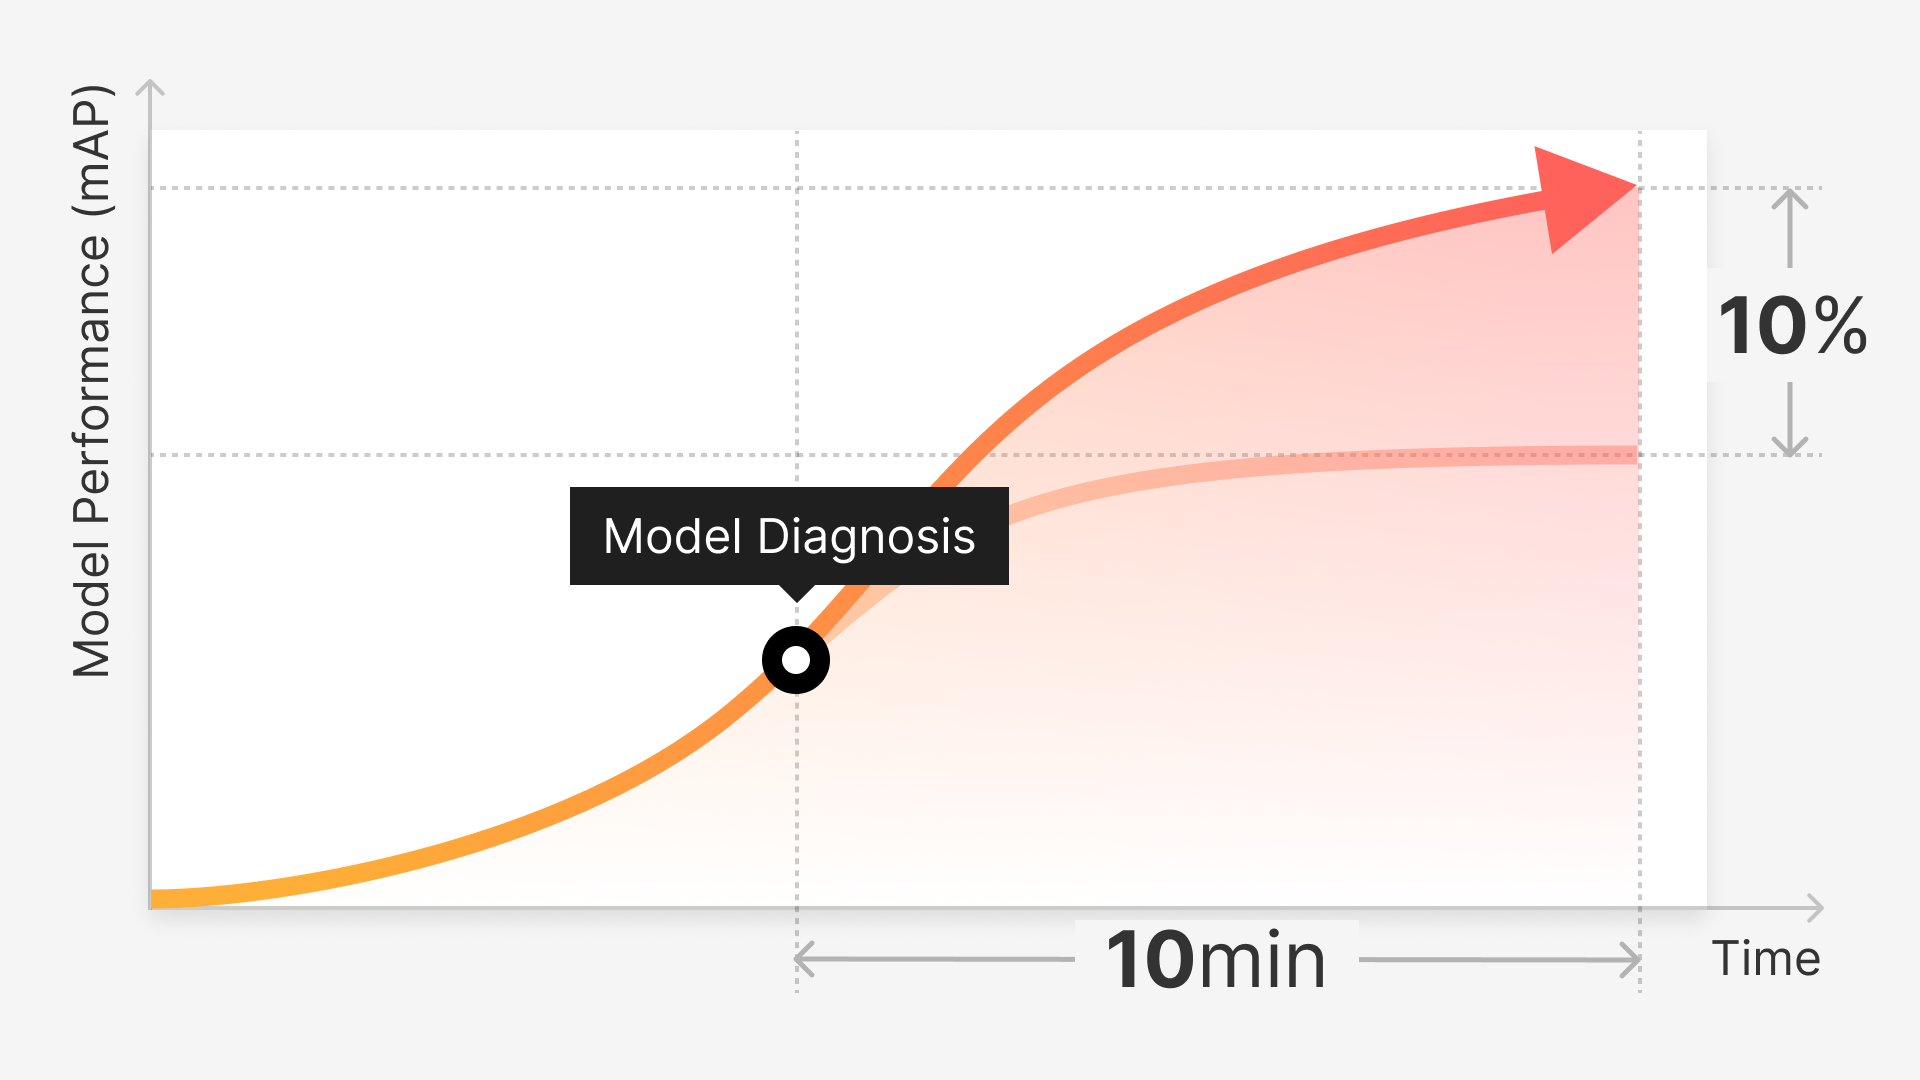
Your team should become familiar with shortcuts and labeling platform navigation before moving forward. These are just a few of the advantages of doing so, and a few things you should know.
We will cover:
Supported Labeling Types
Labeling, Task, and Object Shortcuts
Image Augmentation
When to Use Each Annotation Type and Best Practices
What’s Next
Labeling Types
If you’ve elected to use Superb AI as your labeling platform, then you’ve made a great choice. But before moving forward, be sure to familiarize yourself with part 1 of this series if you haven’t done so already. There, you’ll find step-by-step instructions as well as strategies on how to optimize your ML workflow for success.
Let’s begin by exploring Superb AI’s supported annotation types:

Get to Know your Labeling Platform
Having an understanding of how to utilize the Superb AI labeling platform's features and functions can help your team finish their project faster and achieve better results overall. Superb AI has built-in functionalities that simplify your workflow, and it's beneficial to be familiar with them.
Shortcuts
The purpose of Superb AI's labeling shortcuts is to speed up the annotation process, so that team members can finish their jobs quicker and more efficiently. Understanding how they function isn't required, but taking the time to do so could save you time and money in the long run.
A Quick Trick
Before delving into the various types of shortcuts, knowing how to access and correctly utilize them is an excellent starting point. By pressing the letter "K" on your keyword, you will see a comprehensive list of shortcuts and their corresponding keypresses. This is a great resource that you can access whenever you need and is simple to show/hide.

General Shortcuts
Labelers can use these general shortcuts to quickly complete frequently occurring steps, such as canceling, saving, and submitting labels. Auditors can also benefit from these shortcuts, which allow them to approve or reject a label based on its accuracy. The shortcut list can help your team in more ways than one.

Task Shortcuts
Your Label Mode tasks are listed and numbered on the left-hand side. Each task is associated with a labeling category, which you set up in your project. To the right of each category, or class, is a symbol representing the annotation type and its task number. To complete a task, type its corresponding number using your keyboard.

You can save time by not having to select each task with your mouse every time if your workflow contains a lot of classes. If you want to find a particular task, use the search bar above to locate it, and save yourself from having to scroll through each and every task.
Object Shortcuts
Whether you use a label or an image as an annotation, it's likely that your objects will be complex, with many of them overlapping. This will make it difficult to annotate each one and identify its edges. Working with your objects and executing your preferred commands quickly will help the labeling process run smoother.

Rather than starting a shape from scratch, using commands to copy and paste an object will save you time, especially if there are multiple objects in the same class that have similar shapes. Understanding how to expedite your annotations can only help your team finish projects faster and allocate more time to auditing or starting a new project.
Image Augmentation
You'll undoubtedly have to alter images as part of your labeling process for a variety of reasons. For example, if your dataset contains darker-set images, your model will be biased towards that environment, which will make it difficult for it to decipher a sunnier setting.

Machine learning practitioners might consider image alteration, such as brightening if they lack a variety of images. This is a common practice in computer vision and helps alleviate the need for larger datasets. Annotating point size or font size and therefore knowing how to perform those tasks, are other things to think about.
Begin Annotating with Superb AI
The Superb AI Suite is well-equipped with labeling and project management tools to expedite and organize your workflows. Let’s dive in and explore how you can maximize your machine learning project rollout.
Polygon Segmentation
In order to obtain a comprehensive level of detail and irregular shapes, teams frequently rely on polygon annotation. It's labor-intensive and difficult to execute, which is why it's only used in special cases and requires a skilled, well-trained group of labelers. For more information on how to utilize the polygon notation feature, check out the Academy Series video below.
It's important for every computer vision expert and team member to have a solid grasp of labeling fundamentals and best practices. Not every situation requires this level of detail, nor will every annotation method fit your needs. Segmenting polygons isn't simply a question of knowing how to do it; it's also a question of when to do it.
Having the right knowledge for your project is critical to its success, and it all starts with mastering the basics. In Part 1 of this series, we discuss the importance of annotation guidelines. With polygon segmentation it's important to remember the following:
Your use case
Polygon segmentation is frequently used in medical studies to analyze MRI data more accurately; it's also utilized in agriculture to recognize development patterns and detect plant diseases. Drones use polygon segmentation to recognize objects from a bird's-eye perspective, and it may also be used in fashion to locate the perfect fit for a customer. If your use case does not involve these applications, look elsewhere. You'll save time and money by not having to annotate everything.
Your team’s bandwidth
A manager should keep in mind that polygon segmentation is harder to orchestrate than other annotation types when planning for a team. Having a large, well-trained team is critical to finishing the job on time. Having too few labelers on your team might result in error, as might setting unreasonable expectations or lacking an understanding of how much work they can handle.
Consistency
Keeping your approach consistent across labels is crucial for delivering the results you desire, especially when accuracy is involved. Your team members must be well-versed in your objectives and know how to achieve them. Establish regular lines of communication to ensure that any complications are addressed.
Bounding Boxes
When precision isn't as crucial, using bounding boxes is a simple method to annotate your data. For example, you could identify a shelf or a piece of furniture using simple object detection. To begin labeling with bounding boxes in the Superb AI Suite view the instructional video below.
As with every annotation type, knowing best practices is an essential part of ensuring success for your team and developing the model you want. For a rundown on how to best approach your bounding box project, be sure to read An Introduction to Bounding Boxes [+ Best Practices]. In the meantime, here are some key things to remember:
Keep tight borders
When outlining the shape of your object, make sure that your bounding box’s borders are snug against its edges. Neglecting to do so will result in an inaccurate reading from your model.
Pay attention to intersection over union
The concept of intersection over union, or IoU, describes the bounding box’s placement. Much like having tight borders, IoU compares the placement of your ground truth bounding box and the one predicted by your model. An indication that your model’s performance is high is little distance between the two boxes.
Note the size of your object
Larger objects leave more room for error, simply because there’s likely to be more of an impact on its IoU. Instead, when dealing with larger objects, consider instance segmentation instead.
Overlap is not your friend
For images containing more details, such as a leafy tree or bush, your bounding boxes get in the way of each other pretty quickly. This, of course, affects the overall performance of your model, as it cannot well discern each individual object. In these instances, look to polygon segmentation instead.
Diagonals are a no-go
Outlining an object that is diagonal in nature leaves a lot of gaps between the edges and is therefore least effective. Instead, try a rotated bounding box for better.
Rotated Bounding Boxes
Rotated bounding boxes function similarly to that of a standard bounding box but with greater flexibility and movement. In essence, they offer a more precise method of labeling, especially when the objects themselves are larger or smaller in different places. Rotated boxes help combat the issue of empty spaces and will aid your model in better identifying objects.
To understand if rotated bounding boxes are the right fit for your project, consider the following:
Your object’s aspect ratio
An object is aligned with its image access if it lies parallel or perpendicular to its edges. An object that doesn’t follow this rule of thumb yields much lower precision when traditional bounding boxes are used due to the additional space between its edges.
Overlapping objects
In a perfect world, each object being used for labeling stands alone, but this is unlikely the case when using images from real life scenarios. Traditional bounding boxes can fail to exclude surrounding objects, and your model may fail to differentiate them. As such, rotated bounding boxes can alleviate some of these problems and lead to higher levels of precision and recall.
Object edges
Just as drawing tight edges around your objects with traditional bounding boxes yield better results, the same can be said for rotated boxes. When choosing the right orientation for your bounding box, make sure that each edge is touching the outline of the object and little space is left between the box and the object.
Polyline annotation is best applied for use cases involving linear pathways and roadways. Think: lane detection for autonomous vehicles, crop rows in agriculture, and object detection for industrial use cases. In essence, polylines are best suited where the objects being labeled are linear.
Implementing bulkier annotation types, like bounding boxes, or more detailed ones, like polygon segmentation, lead to more inaccuracies than simply tracing the object’s line. In addition, this method of labeling is less time-consuming and much easier to implement than other, more detailed strategies. For polyline use cases, stick to these main approaches:
Create your classes
As with other labeling techniques, establishing your object classes is a paramount step in your project. With polylines, much of the objects look incredibly similar, but their meanings are drastically different. A line representing a curb, for example, is different from the lines in the middle of the road indicating the flow of traffic. A lack of class definition leads to inevitable mistakes by your model and can result in fatal consequences.
Be careful of biases
Because polylines typically deal with roads for autonomous vehicles, labelers must consider traffic laws on a global scale. Designing a model built to understand American highways will have drastically less success in the UK, where people drive on the opposite side of the street, for example.
Draw with precision
Like any other labeling type, it’s important to trace your lines carefully. The more accurate your tracing, the better your model will work, especially when you want it to move in a linear fashion.
Keypoints
Keypoint annotation has done wonders for movement science and face detection software. Consider your iPhone and how you’ve gone from unlocking it with a code to then using your fingerprint, and now, with the latest innovation, all it takes is a look. Building a model successful in reading faces is derived from many iterations of keypoint annotation datasets.
In addition to facial recognition, keypoints have done wonders for movement science, including gait analysis in the medical field and muscle movement in sports. Being able to understand how a person moves can help treat and prevent injuries, assess potential players for professional recruitment, and even stack them against their competition.
Though keypoints specialize in annotating and tracking movement, they’re far less complex than they sound. Building a keypoint workflow entails drawing lines alongside a person’s movements or features to accurately detect their placements and look much like a skeletal outline.
Because the focus is on movement, ML models must understand body parts or facial features in the same way that other models must understand standard image classes, especially since you will need to define them.
Before deciding if keypoint annotation makes sense for your project, it’s important to consider the following:
Your data type
Keypoint-based models focus mainly on movement, so video is the best format to use them in. For example, Parkinson's disease affects a person's walking, and it's therefore impossible to study using photos. Parkinson's disease affects a person's walking, and video is therefore the best format to study it with keypoints.
Obstructions
The best results are achieved with datasets that are based on real-life rather than those that are perfectly created. Studying movement science, we frequently encounter crutches, walkers, and canes, so identifying a person's gait isn't always easy. However, it's not impossible. By including numerous diverse examples and edge cases such as the ones mentioned above, can have a positive impact on your model's performance.
Ethics
Using facial recognition has been a game-changer for law enforcement, helping identify criminals and keep them off the streets. Computer vision, on the other hand, is never perfect, and it may still misidentify the wrong individual. Furthermore, there is fear that those photos might end up in the wrong hands. To avoid this, companies should ensure adequate security, and labeling companies must ensure that their potential customers are adequately vetted.
2-D Cuboids
One of the challenges in computer vision is working with 2-dimensional objects and labels and retrofitting them for a 3-dimensional world. A popular workaround is through 2-D cuboid annotations, which helps your model better interpret 3-D objects captured with a 2-D camera lens, allowing it to understand depth.
Cuboids are essentially a more-detailed version of a standard bounding box, and implementing them is just as easy. To begin your cuboid project, first navigate through Superb AI’s standard project setup and choose 2-D cuboid as your annotation type. Next, follow these steps for accurate annotations:
In autonomous vehicle datasets, identifying other cars or obstructions on the road is particularly simple with cuboids. Cuboid annotation is also common in robotics and object detection applications.. In the following scenarios, computer vision specialists should consider cuboid labeling:
You’re working with cityscapes
The main purpose of 2-D cuboids is to decipher depth. In big cities and highly condensed areas, the surroundings are often buildings, signage, and people. Understanding the depth of those areas will help bolster your model’s performance and accuracy.
You’re building a drone model
Drones are designed to understand their surroundings and identify objects that may cross their paths. Because cuboid annotation focuses on depth and measures distance, they’re commonly used for drones.
Your model doesn’t require tons of detail
Relying on cuboid annotation for something as complex as medical imaging or disease detection doesn’t make a lot of sense. Instead, cuboids are reserved for knowing the precise location of an object and how large it is in comparison to its surroundings.
Beyond Your Labels
Creating a labeling workflow is only the beginning of building a successful computer vision model. Understanding each labeling type, its corresponding use case, and how it can benefit your model are all things to consider before jumping in. But it doesn’t end there. Next, your team will need to build out a robust auditing workflow customized for your use case. To learn best practices and helpful strategies, stay tuned for part 3.